Step 1: Navigate to your Brightspace site.
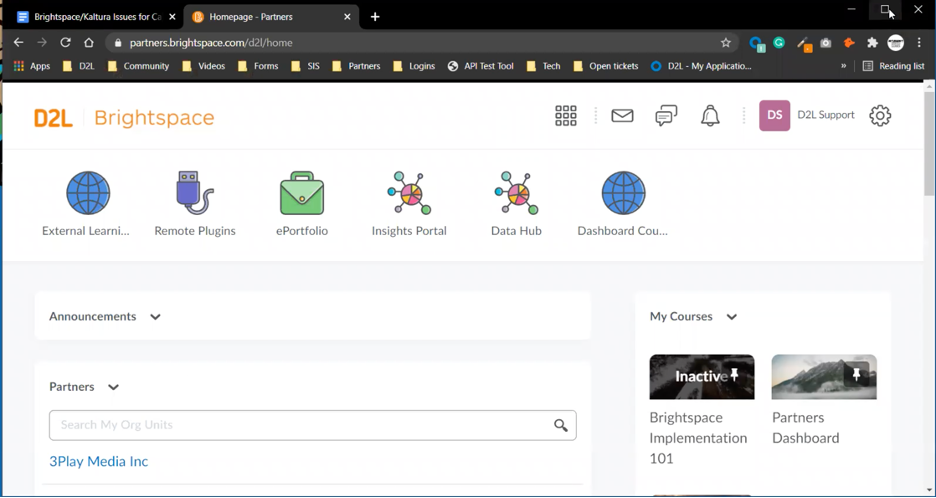
Step 2: Open “Settings” menu.
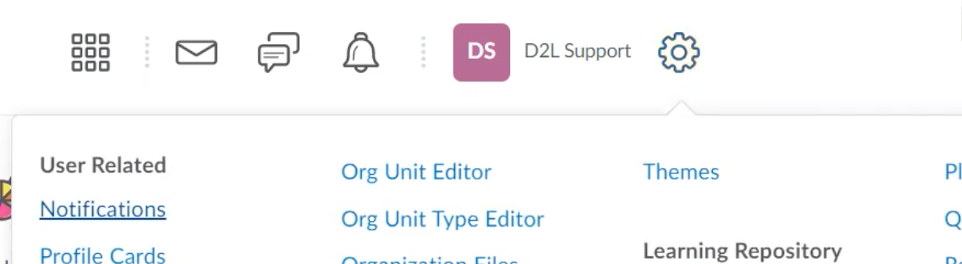
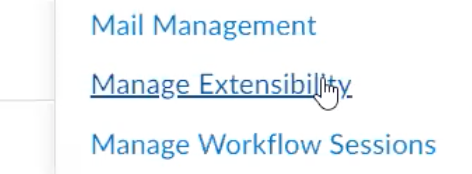
Step 3: Select “Manage Extensibility” option.
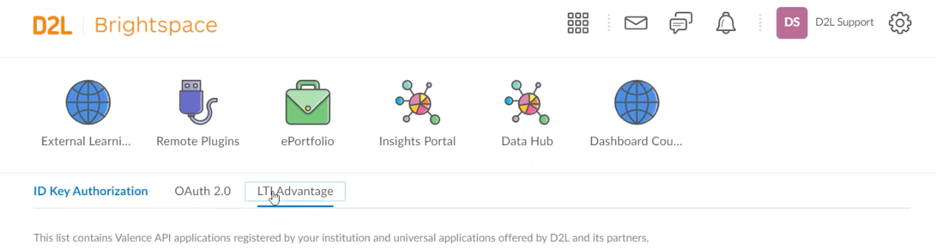
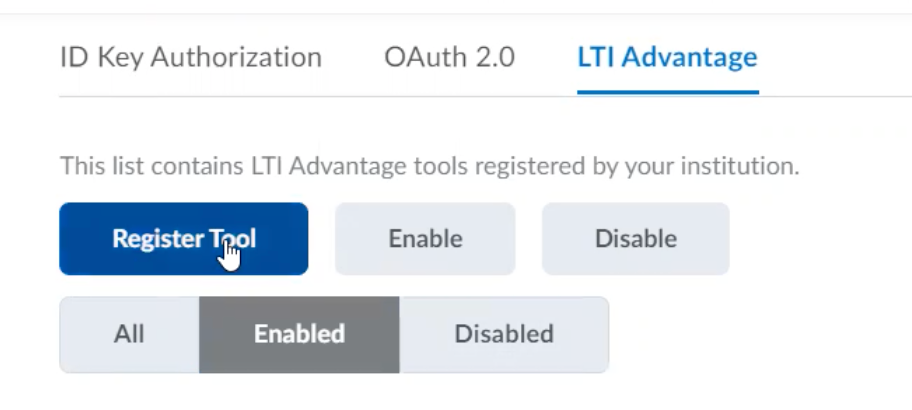
Step 4: Select the “LTI Advantage” tab.
Step 5: Click “Register Tool” from the LTI Advantage menu.
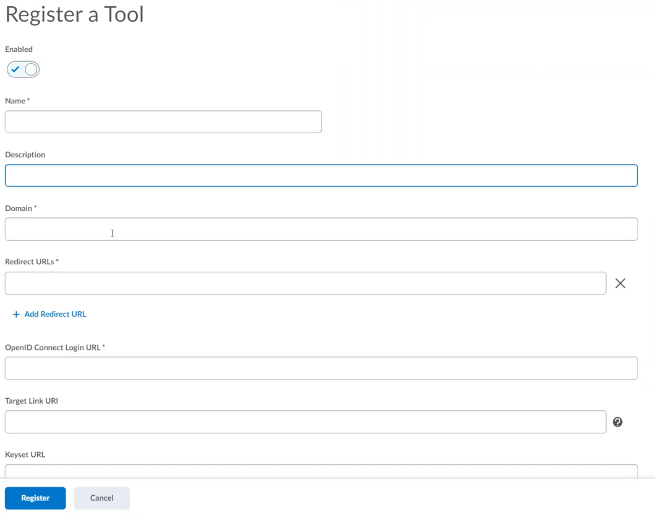
Step 6: The provided fields are the standard LTI 1.3 fields including a checkbox for “Enabled” (verify it shows checkmark), Name (name of the tool), Domain, Redirect URLs, Target Link URI, and Keyset URI (all links provided by NimblyWise [listed below]).
Domain:
https://lms.nimblywise.com/lti1p3_tool/
Redirect URI:
https://lms.nimblywise.com/lti1p3_tool/launch/
Open ID Connect Initiation URI:
https://lms.nimblywise.com/lti1p3_tool/login/
Target Link URI:
https://lms.nimblywise.com/lti1p3_tool/launch/
Keyset URL:
https://lms.nimblywise.com/lti1p3_tool/jwks/<key-id>
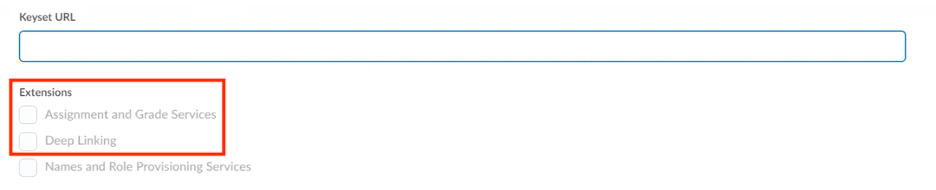
Step 7: Keyset URL needed to enable extensions. When provided, check “Assignment and Grade Services” and “Deep Linking” boxes.
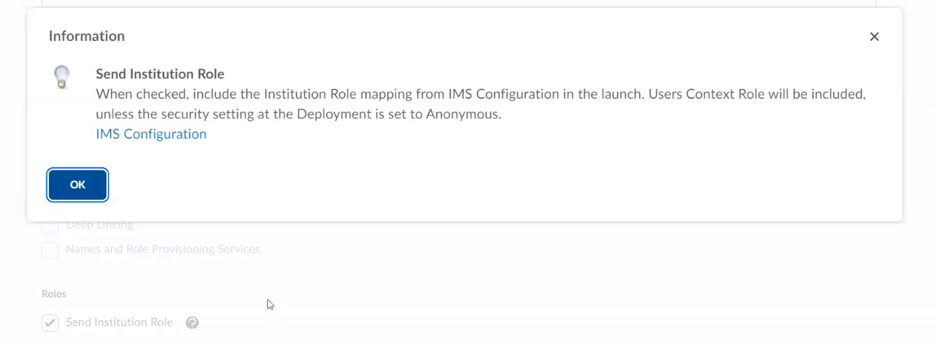
Step 8: Verify “Send Institution Role” is checked.

Step 9: Select “Register” to save the information.

Step 10: The following information will be provided (see below). Elements can be copied directly by selecting the icon next to the element and choosing “Copy to clipboard”.