Step 1:
The first step to integrating your InfoLit Modules via LTI in your Moodle is to sign in as an instructor and under the “Administration” panel, click on “turn editing on.”
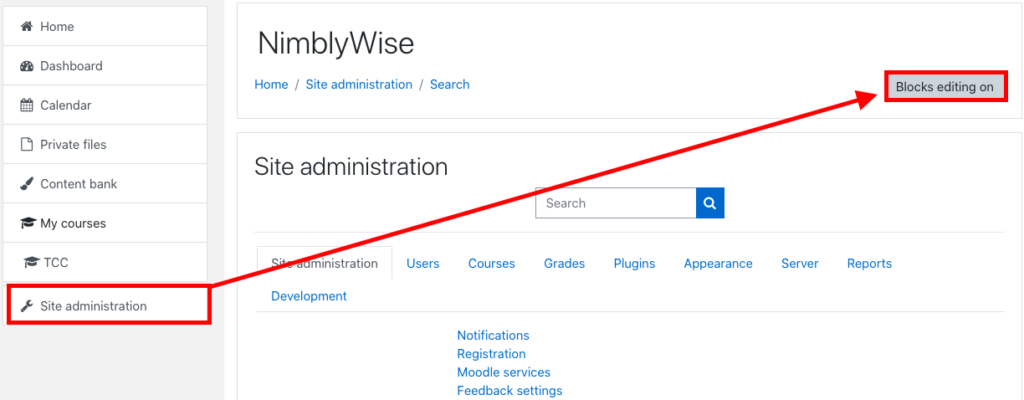
Step 2:
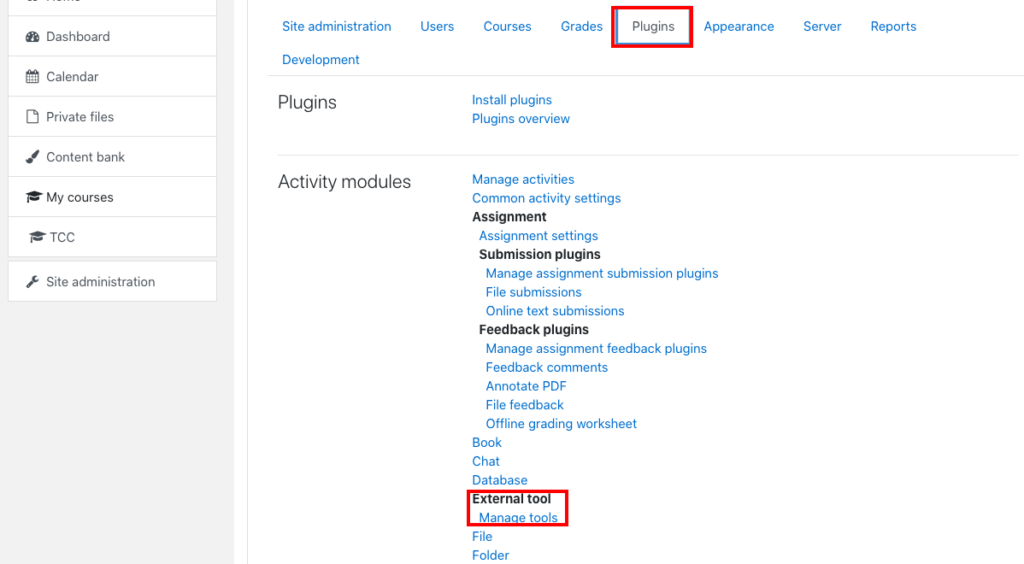
Under the settings menu, select the following: Site Administration –> Plugins –> External Tool –> Manage Tools
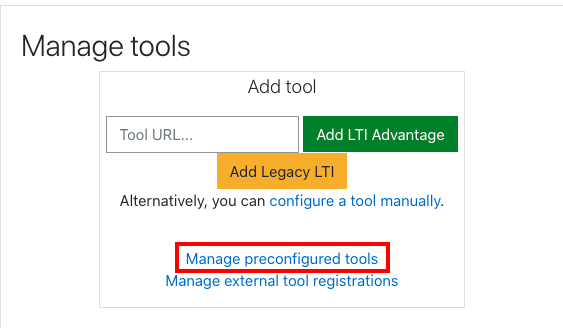
Step 3:
You will see your LTI Tool set up area. Click on “Manage preconfigured tools”
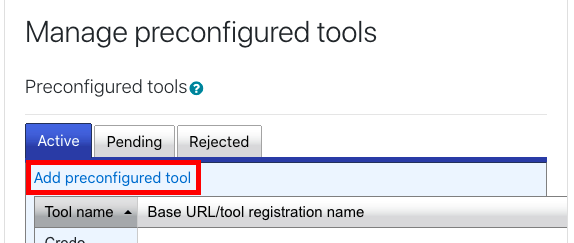
Step 4: Then click on “Add preconfigured tool”
Step 5:
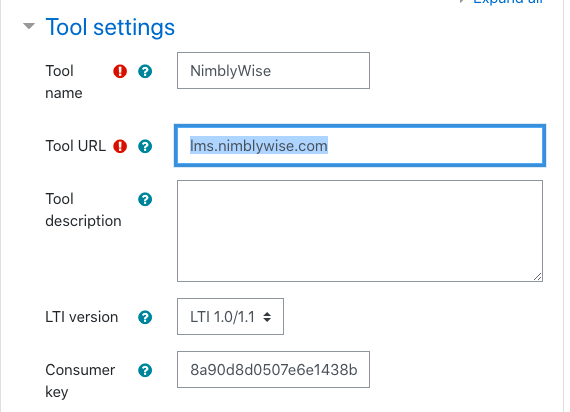
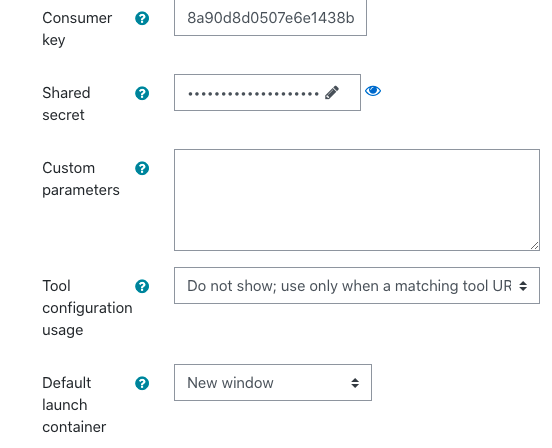
In this section you will need to fill in the information you got from Credo about your LTI integration. You will need to fill in the following information.
Tool Name: NimblyWise
Tool URL: lms.nimblywise.com
Tool Description: Optional
LTI Version: LTI 1.0/1.1
Consumer Key: Given to you by NimblyWise
Shared Secret: Given to you by NimblyWise
Default Launch Container: New window
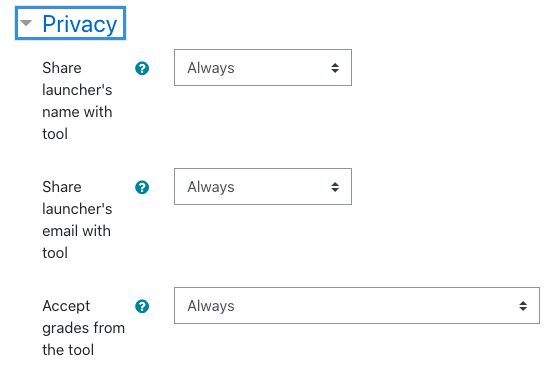
Privacy: Set share launcher’s email with tool to “Always”, and accept grades from tool to “always”.
— Back to Moodle LTI Set Up