Please note: Before you begin, you MUST have the LTI 1.3 Public key in JWK format from Nimblywise. If not, please contact Nimblywise support. This must be completed by someone with administrator access to Canvas.
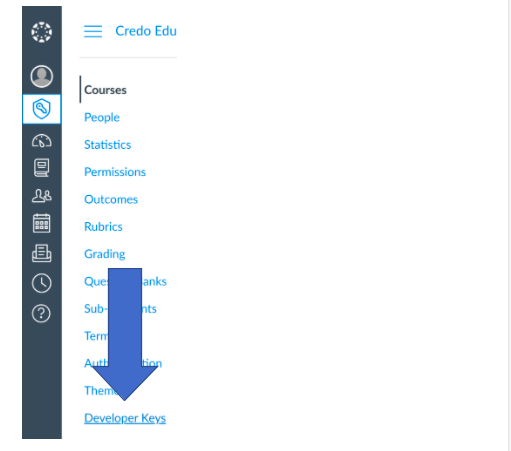
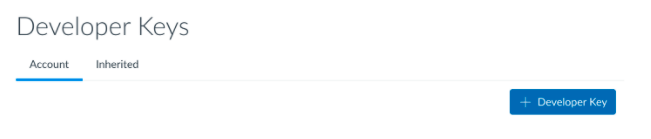
Step 1: From the Administration page in Canvas, select Developer Keys, then Choose “+ Developer Key” from the right-hand side of the screen.
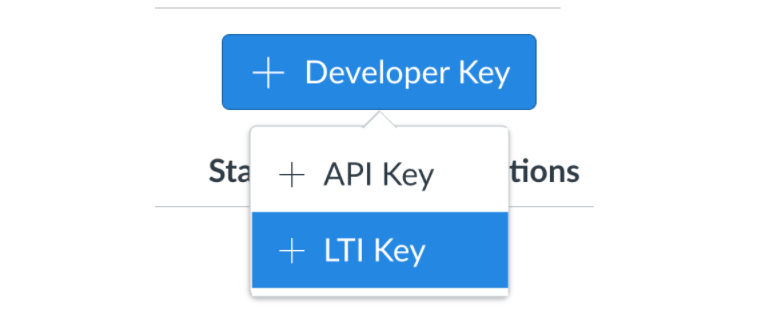
Step 2: From the drop-down list, select “+ LTI Key” and then the “Key Settings” screen will load.
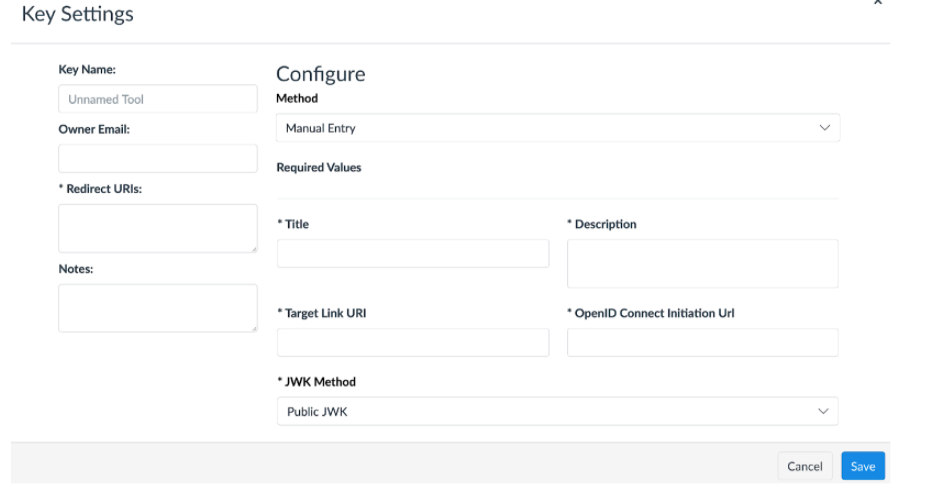
Step 3: On the Key Settings page, create the Key Name, fill in “Owner Email” (if provided), and add the “Redirect URIs” provided. If additional Redirect URIs are provided, include those on additional lines by using the enter key after each URI.
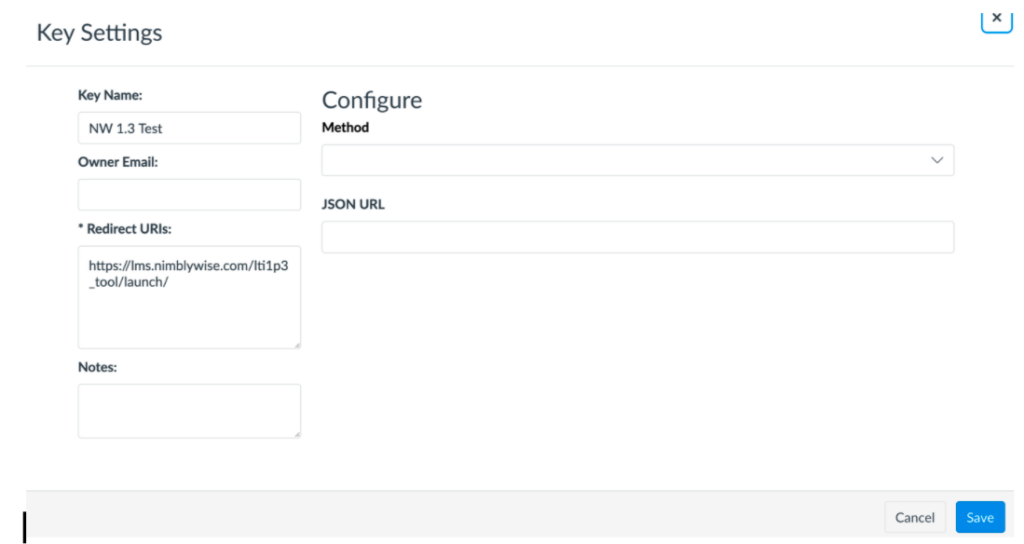
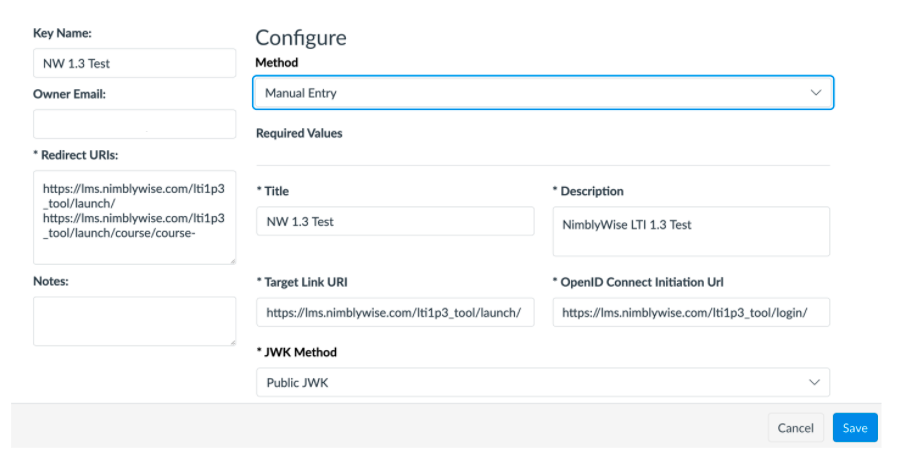
Step 4: In the “Method” field, click the down arrow (“V”) and choose “Manual Entry”. Add the following information:
- Title (Name of the link)
- Description (Description of the link)
- Target Link URI (https://lms.nimblywise.com/lti1p3_tool/launch/)
- OpenID Connect Initiation URI (https://lms.nimblywise.com/lti1p3_tool/login/)
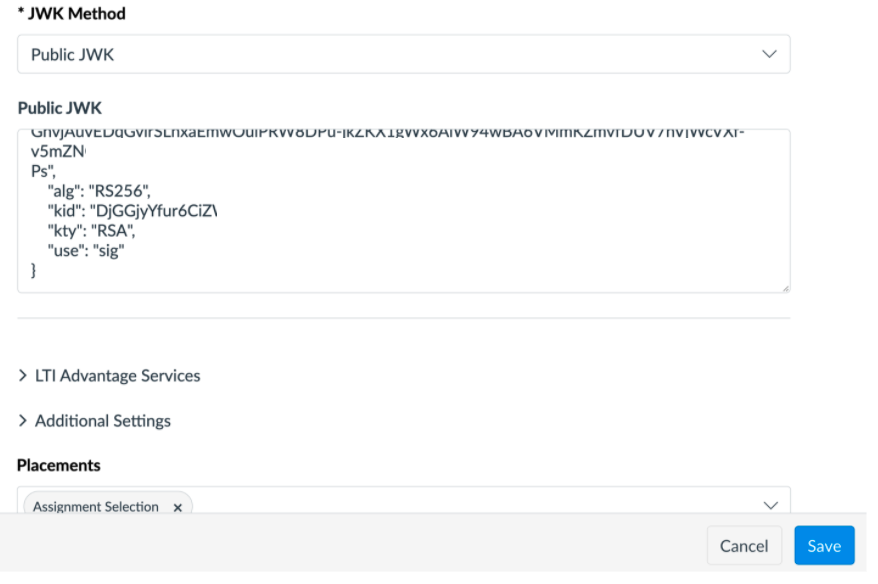
Step 5: Scroll down and make sure “Public JWK” is chosen in the “JWK Method” box. In the “Public JWK” field, enter the “LTI 1.3 Public key in JWK format” provided by NimblyWise. (Note: This must be 100% accurate and include the { and } brackets when complete).
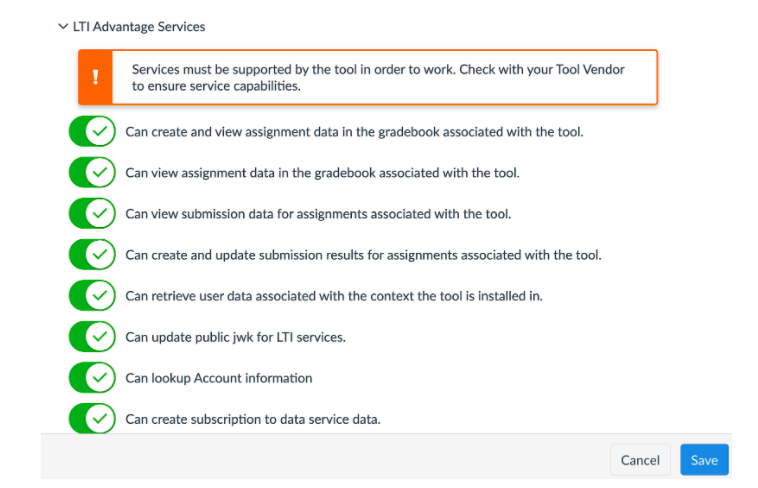
Step 6: Enable all options under the “LTI Advantage Services” section.
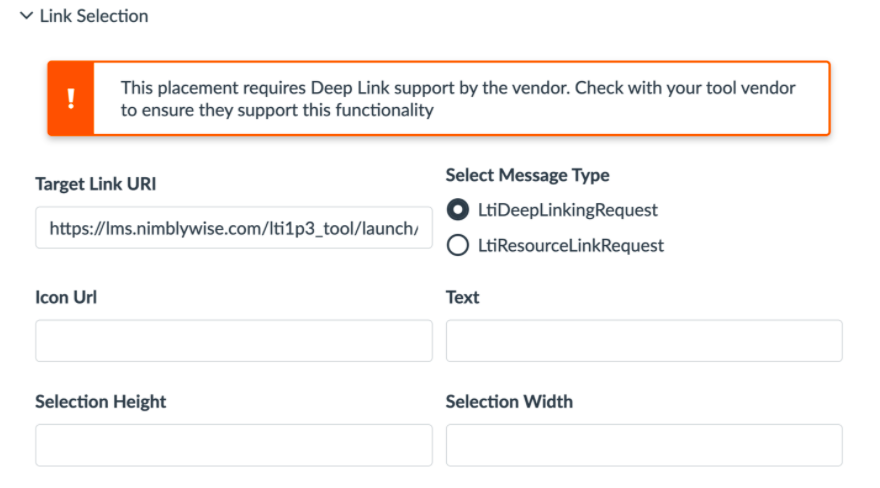
Step 7: In the “Link Selection” area, click the down arrow (“V”) and enter the “Target Link URI” (https://lms.nimblywise.com/lti1p3_tool/launch/) and change “Select Message Type” to “LtiDeepLinkingRequest”.
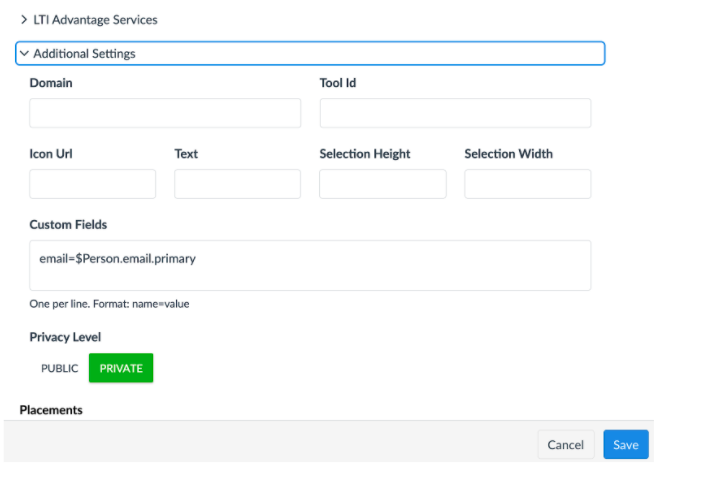
Step 8: In the “Additional Settings” section, under “Custom Fields”, enter the following: email=$Person.email.primary
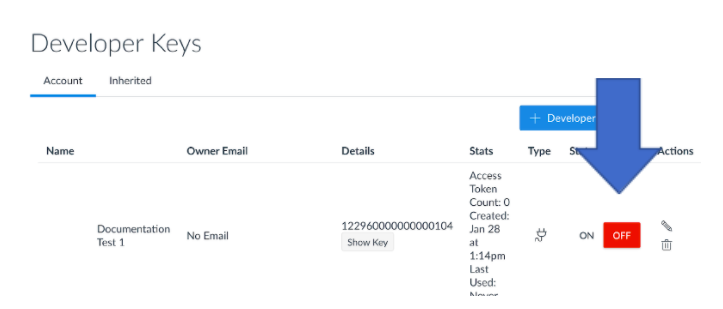
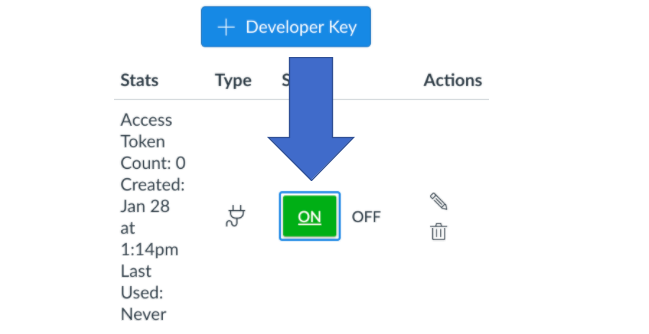
Step 9: To complete “Key Settings”, click “Save”. The Developer Keys area will display the new developer key just created. By default, the key state is “Off”. Change this to “On”.
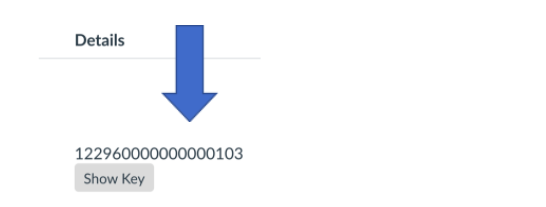
Step 10: Copy the number provided under “Details” and place somewhere you can access again later.
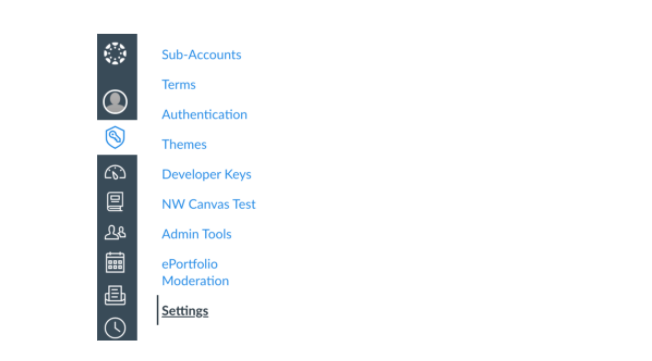
Step 11: From the left-hand menu, select “Admin” and then scroll to “Settings” at the bottom of the list.
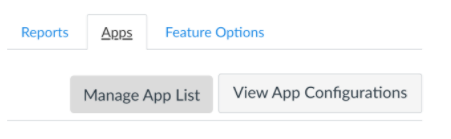
Step 12: From the “Settings” navigation across the top of the screen, choose “Apps”, then choose “View App Configurations”.
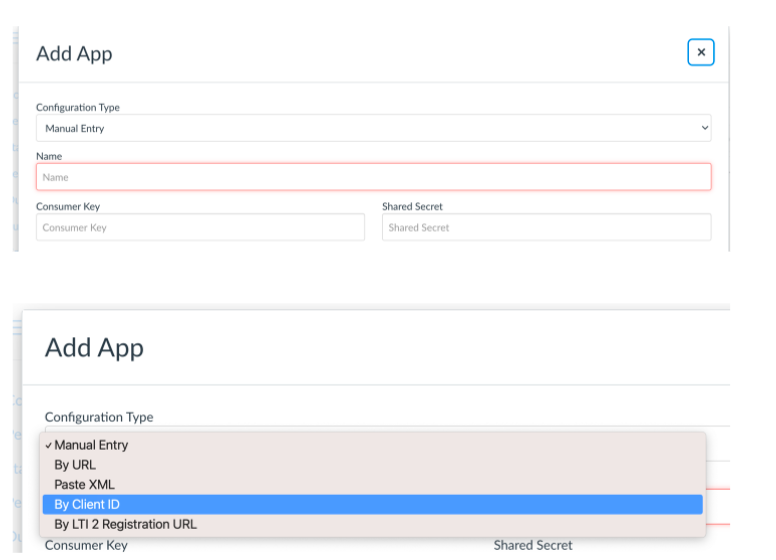
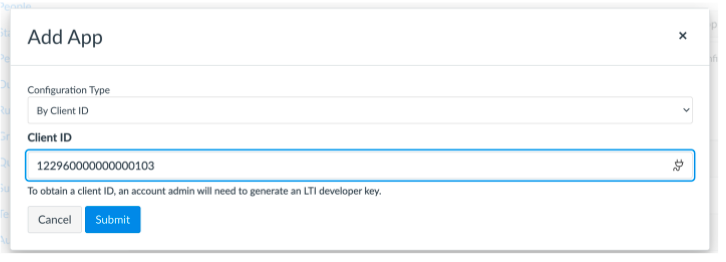
Step 13: Select “+ App” then from the “Configuration Type” dropdown, select “By Client ID”.

Step 14: Paste the number copied in Step 10 in the “Client ID” box. Click “Submit”.
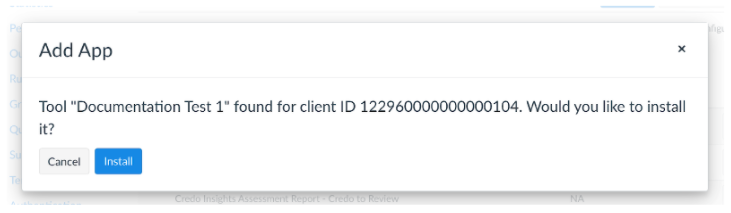
Step 15: When prompted by the “Add App” dialogue box, select “Install”.
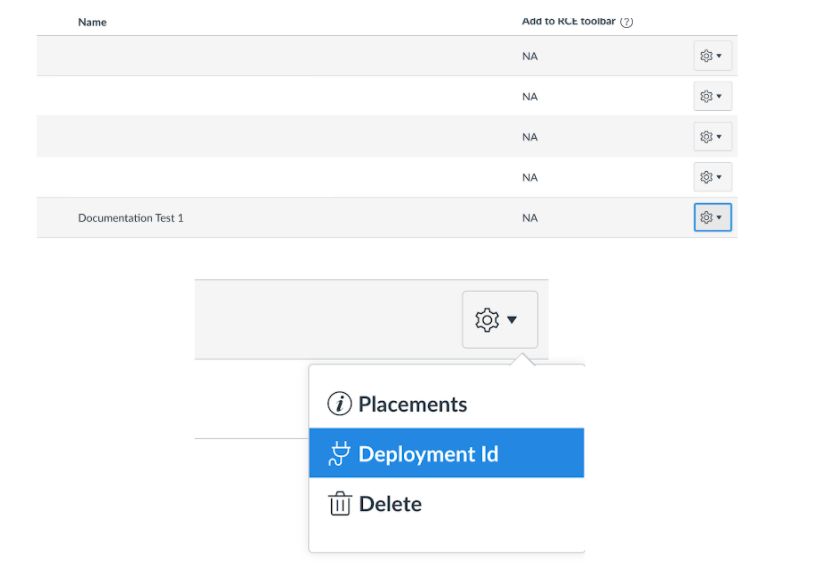
Step 16: From the “External Apps” list, find the tool added in the previous step. Click the down arrow next to the settings sprocket. Choose “Deployment ID”.
Step 17: Copy this Deployment Id. This must be provided to NimblyWise to continue the LTI 1.3 linking process.
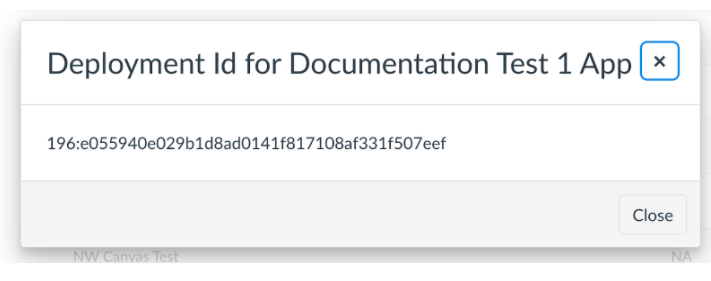
Step 18: Provide the “Details” number, the Deployment Id, and your Canvas URL to NimblyWise to continue the process.