There are two different ways to add an LTI link to a course. The first works well if you have a lot of links to add at one time and then want to organize them in your course later. The second method works well if you only have one or two links and know exactly where you want to place them in your course. Both methods will be detailed below:
Adding LTI links via course admin:
Step 1: From the course homepage, select External Learning Tools (LTI) in the top navigation bar. If you do not have a top navigation bar, navigate to the course level External learning Tools area of your specific course

Step 2: Select the blue New Link button to add a new LTI link. You will follow this process with each new link you have to add.

Step 3: Fill in the following information:
- Title: The name of the link (e.g. Gen Ed Assessment)
- URL: The long LTI link of the item
- Description: A short description of the item so course admins will know what it is.
- Visibility: Be sure to check “Allow users to view this link”
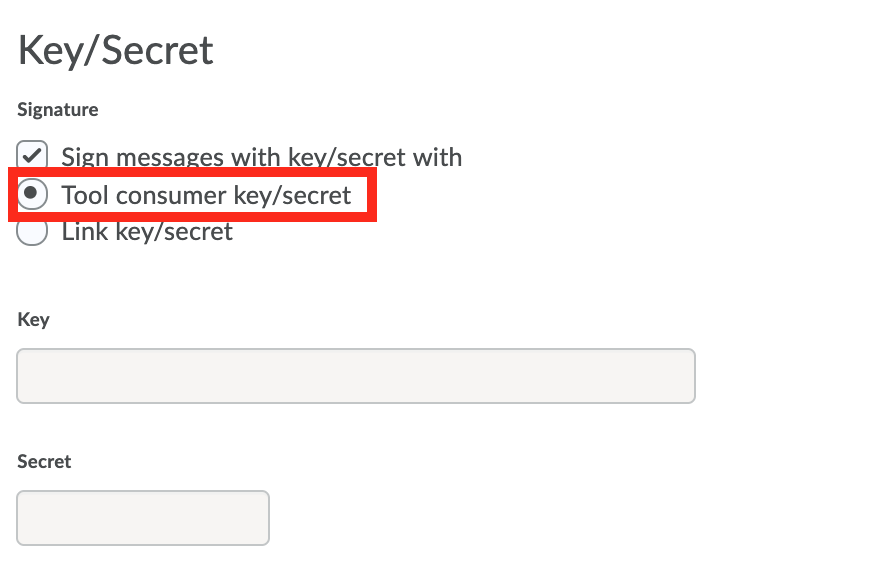
- Key/Secret: Select Tool Consumer Key/Secret and the boxes so the link will refer to the global tool set up.
- Security Settings: Select Use Tool Provider Security Settings


You can verify that the link works after you’ve created it, click on the arrow next to the link then click on Preview Link from the dropdown menu.

Adding a link within a content module
Step 1: In your course content area, create a new module or go into an existing module then click on “Add Existing Activities” and select “External Learning Tools”.

Step 2: If the link was already added via the course admin, use the search box to locate the name of the link you want, then select the link. If it was not, click on Create New LTI Link at the bottom.

If you are creating the link in situ, fill in the LTI link title and the URL. It will look for the global tool set up. If you are still using LTI 1.1 (and have not switched to LTI 1.3 or LTI Advantage) it may say “Legacy LTI Tool.” Then select the blue Create and Insert button to place the link in the course.

Step 3: If you want to set date restrictions or other criteria, click on the little arrow then select Edit Properties In-Place.” You can add start and end dates, as well as release conditions (if you want students to go through the links in a certain order).


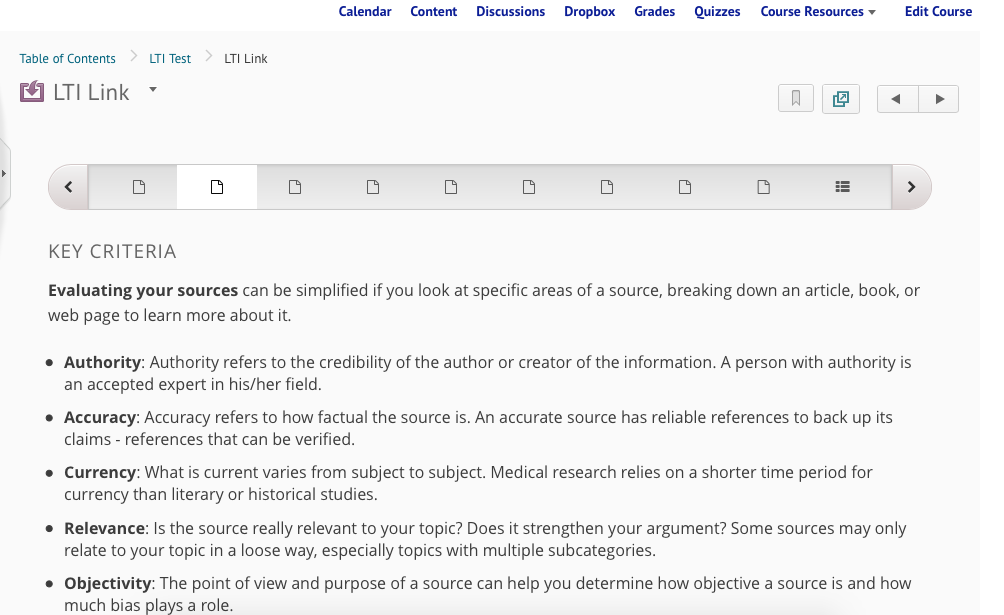
This is what the completed link will look like to students.
— Back to D2L LTI Set Up