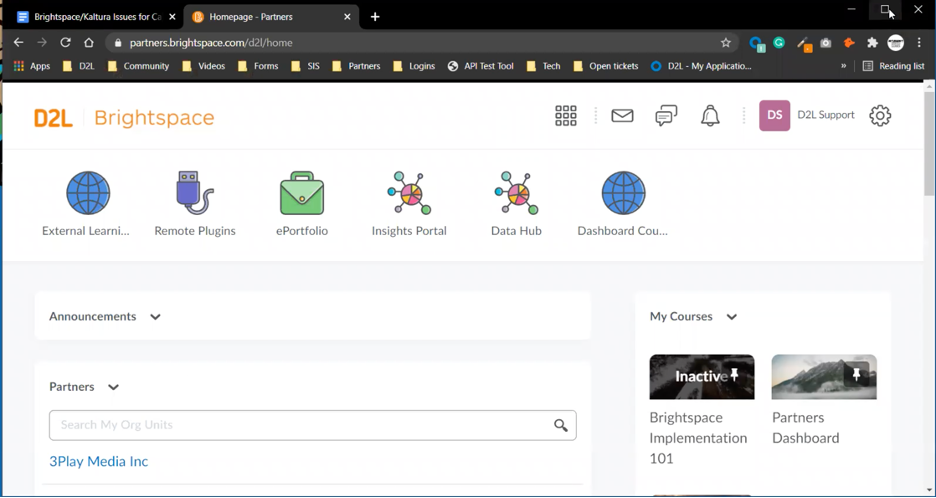
Step 1: Navigate to your Brightspace site.
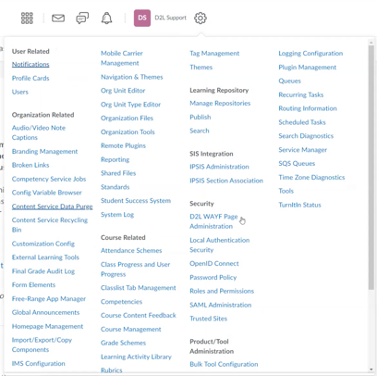
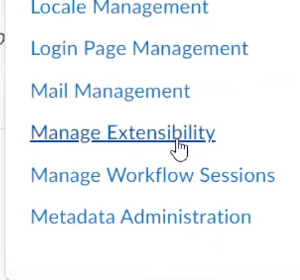
Step 2: In “Admin Tools”, select “Manage Extensibility”.
Step 3: In the “Manage Extensibility” section, select “LTI Advantage”.
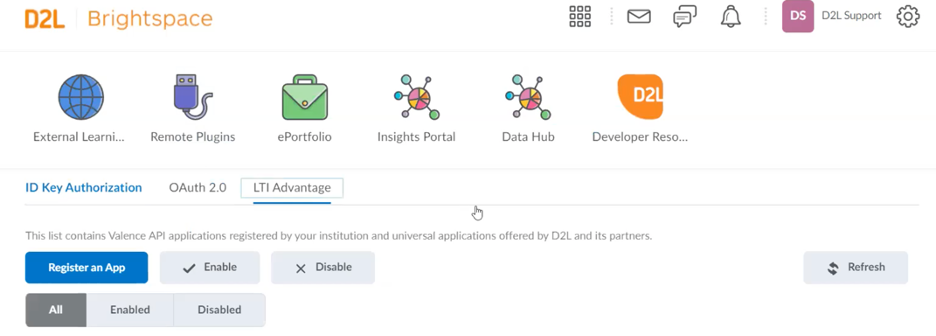
Step 4: Select your tool from the list.
Step 5: In the “Edit” menu, verify that the deep link just created is listed in the “Redirect URLs” list. If not, add the link.
NOTE: The deep link must be present in both the Deep Linking Insert Stuff AND the “Redirect URLs” in the “Edit” menu or the content will not load.
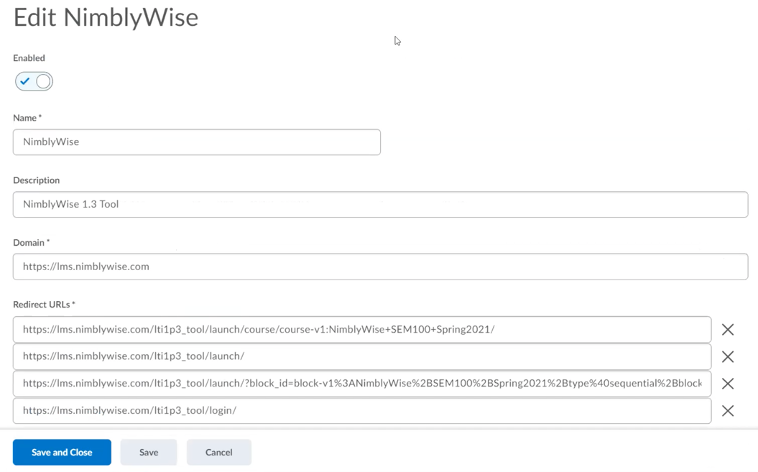
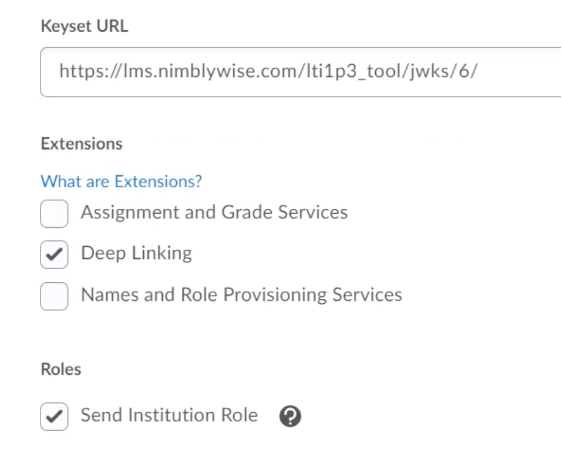
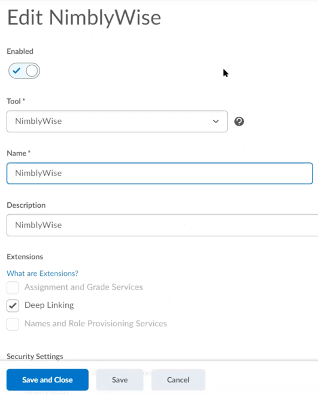
Step 6: Scroll down and verify that “Deep Linking” and “Send Institution Role” are both checked.
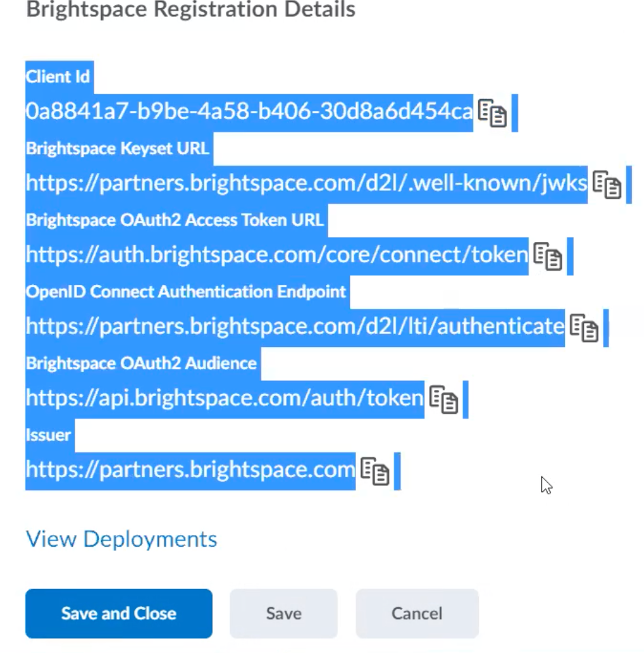
Step 7: To customize access, select “View Deployments”.
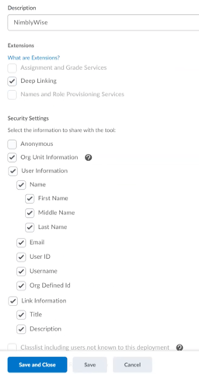
Step 8: In “View Deployments”, select the desired deployment, customize the name (if desired). Check that the “Deep Linking” box is checked and verify “Security Settings”.
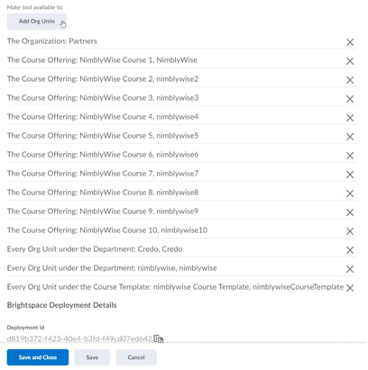
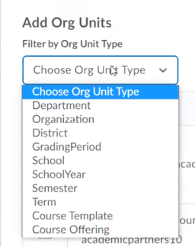
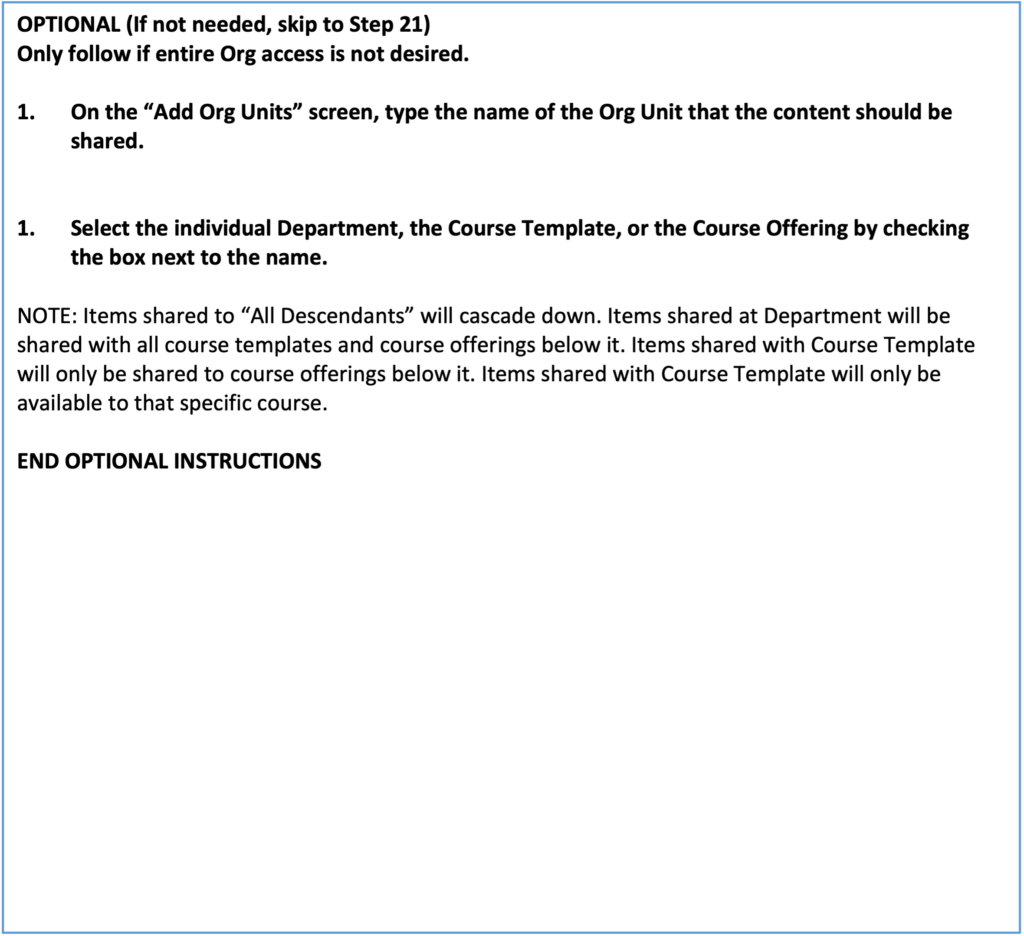
Step 9: Scroll to “Make tool available to:” section. Click “Add Org Units”.
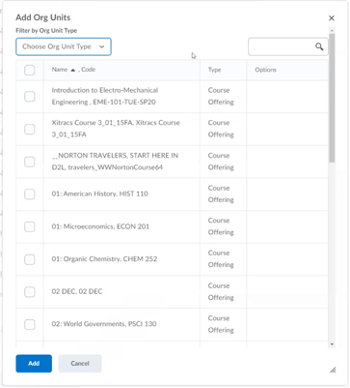
Step 10: In the “Add Org Units” menu, use the “Choose Org Unit Type” dropdown. Select “Organization”.
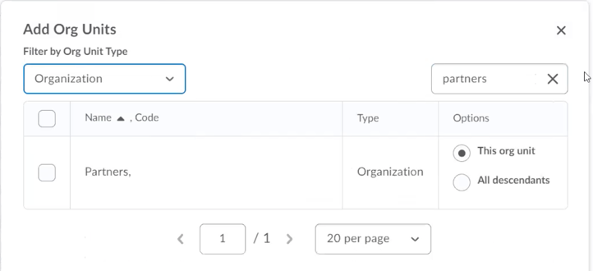
Step 11: Select the box next to the Org name (in the example this is “Partners,” and select “All descendants” from the options on the right-hand side. This will share the link to the entire Org structure.

Step 12: When deployment sharing is complete, navigate to the “multiple squares” icon at the top of the page.
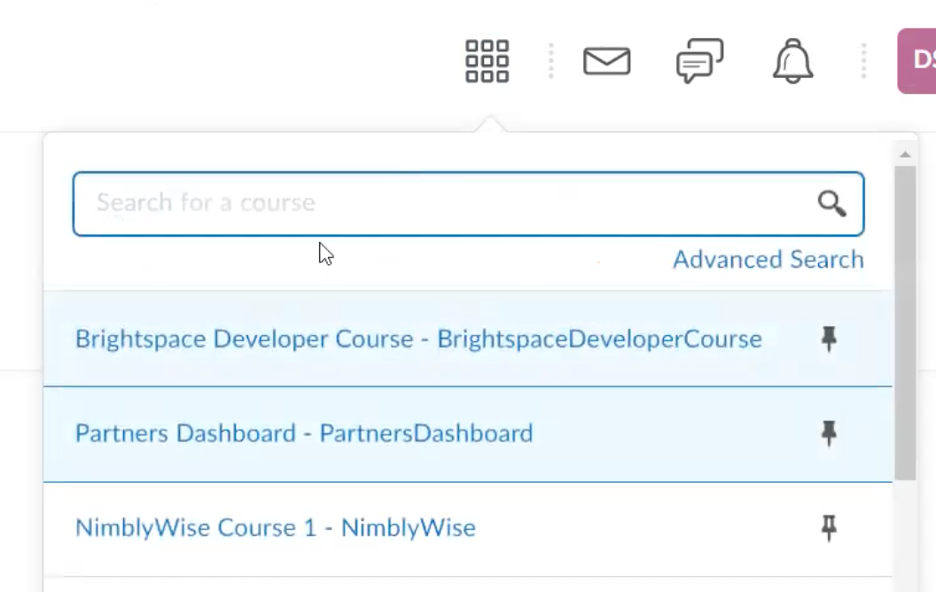
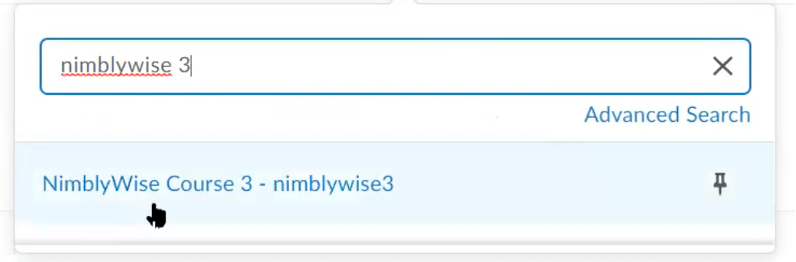
Step 13: In the “Search for a course” box, type the name of the course where you wish to create the LTI link. When the course appears, click on it.